
V-day is upon us and it's always a good excuse to eat chocolate. What's your favorite? Dark, milk, or white? For me, it's dark all the way. I can even eat unsweetened chocolate discs, which my son thinks is insane.
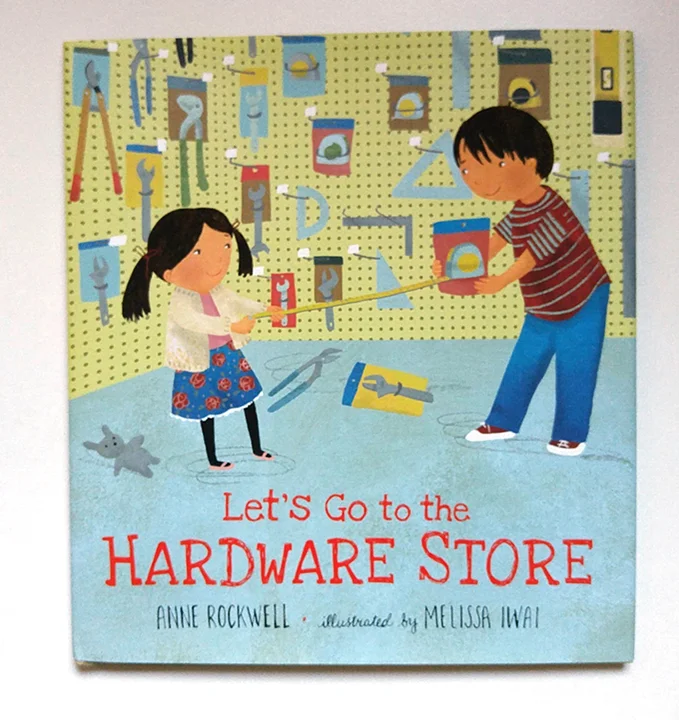
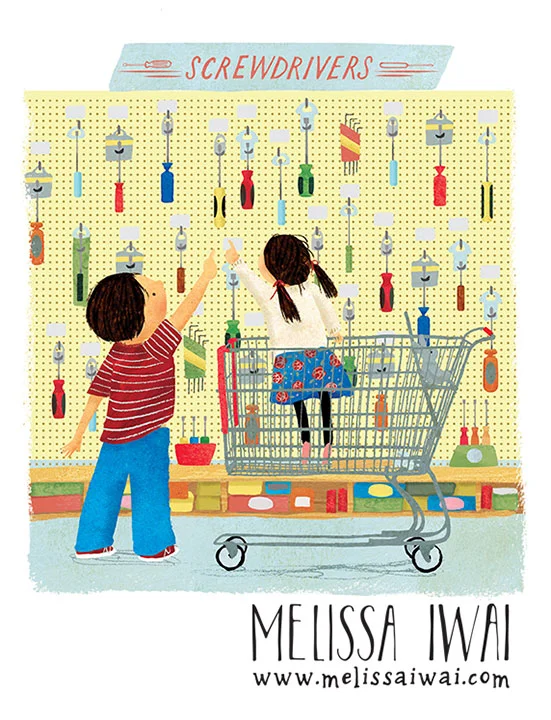
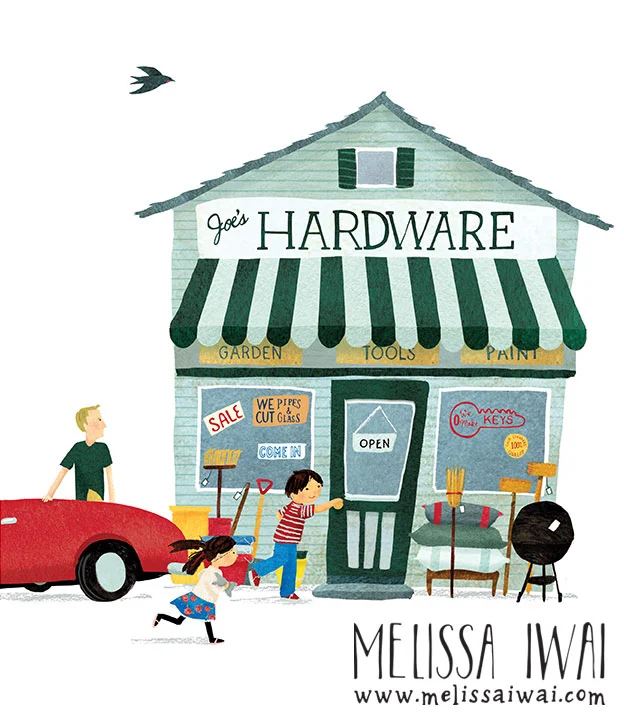
He had a similar reaction to these kids when he tried it:
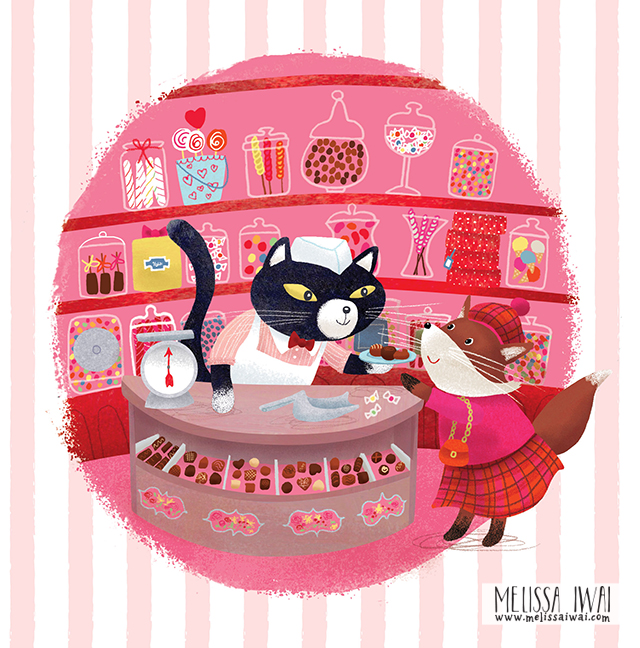
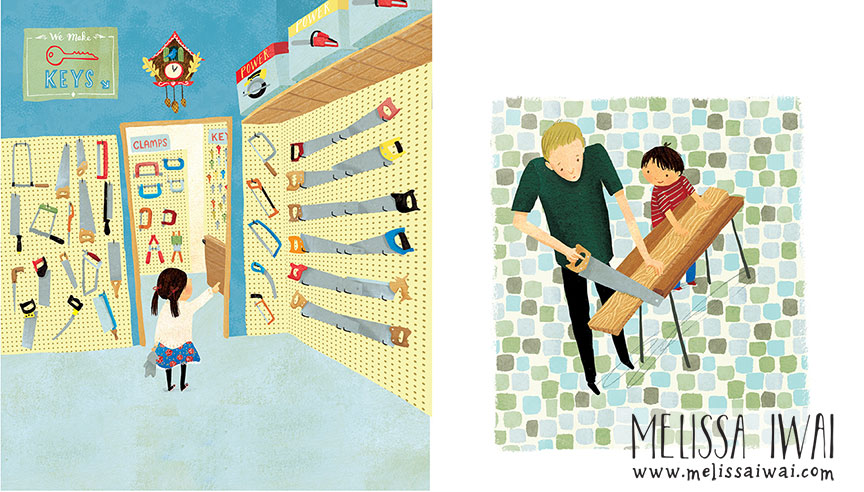
For the Sugar Cat piece shown above, I had so much fun drawing all the candy in the background! I was inspired by some of my favorite vintage children's books with illustrations by Mary Blair, Garth Williams, The Provensens, Richard Scarry.... And I wanted to do something fun that captured my joy in seeing these artists' illustrations when I was a kid. I just want to go live in that world inhabited by animals selling candy. :)
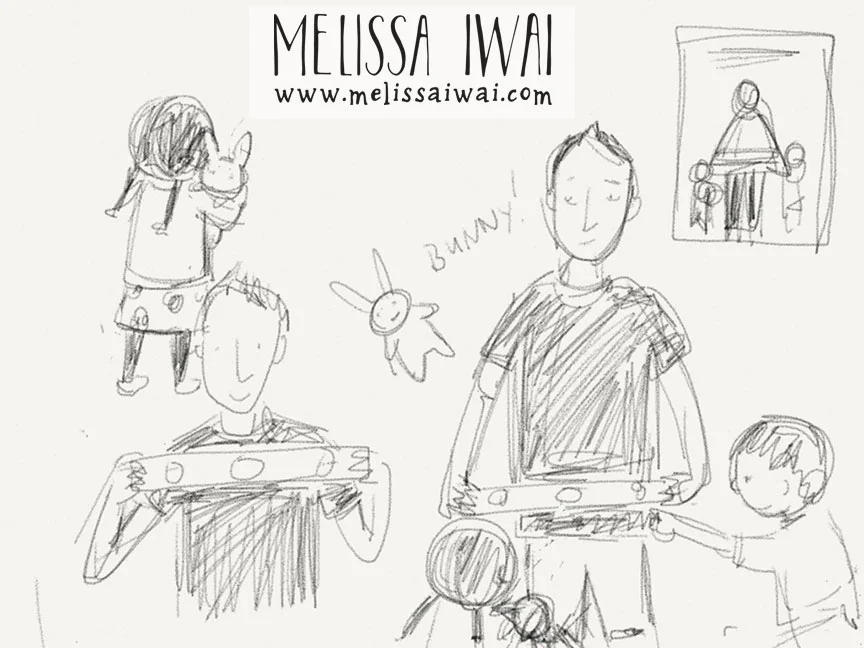
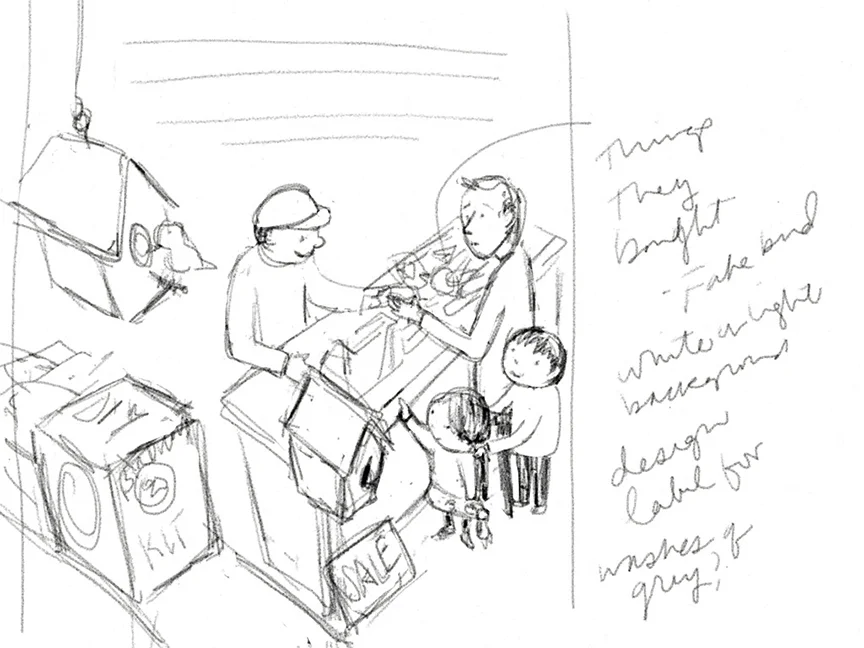
Here's a sketch of the layout with my notes. I knew I wanted the colors to be heavily skewed towards pinks and reds.
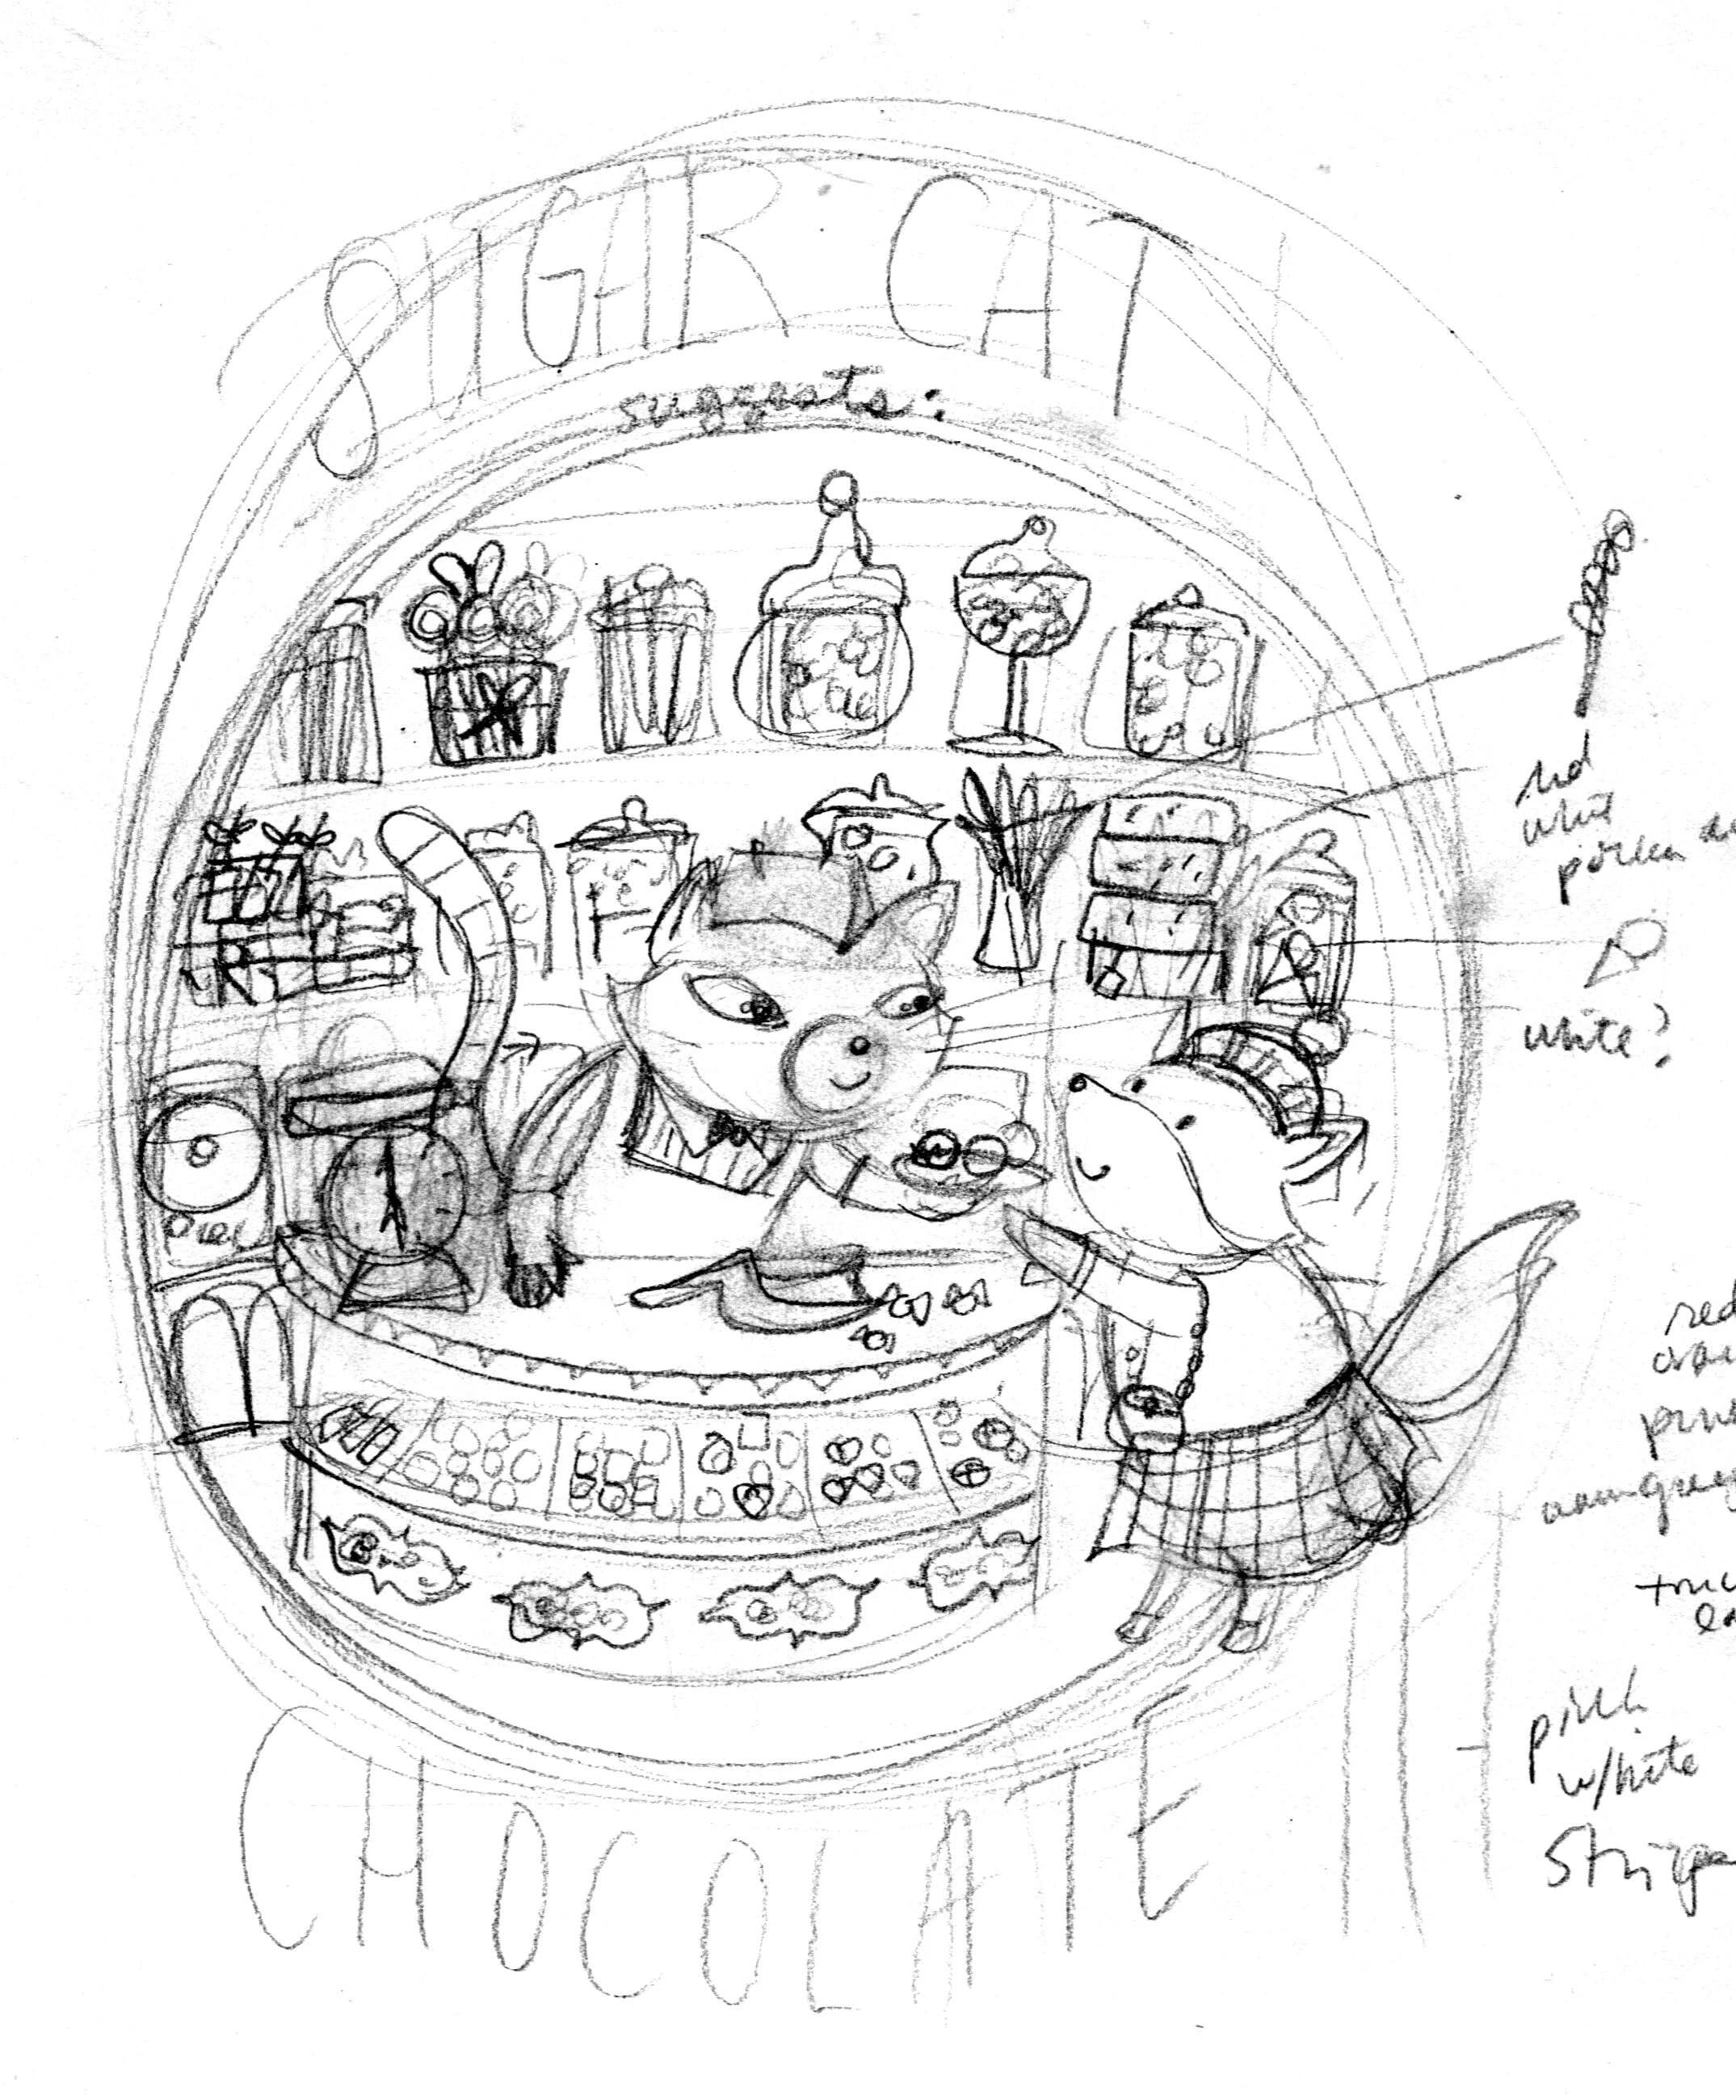
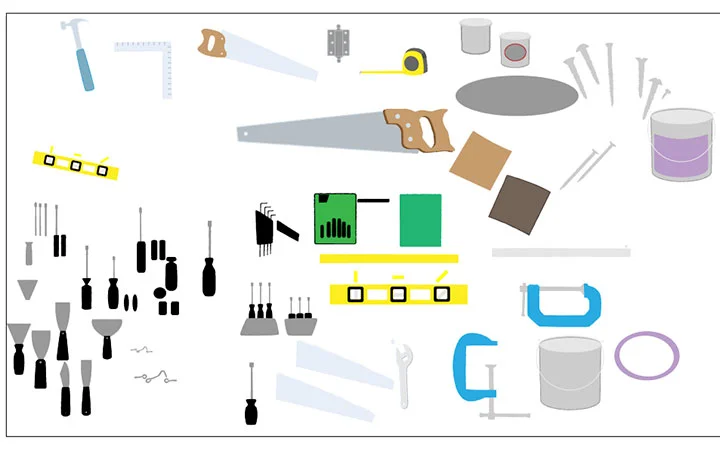
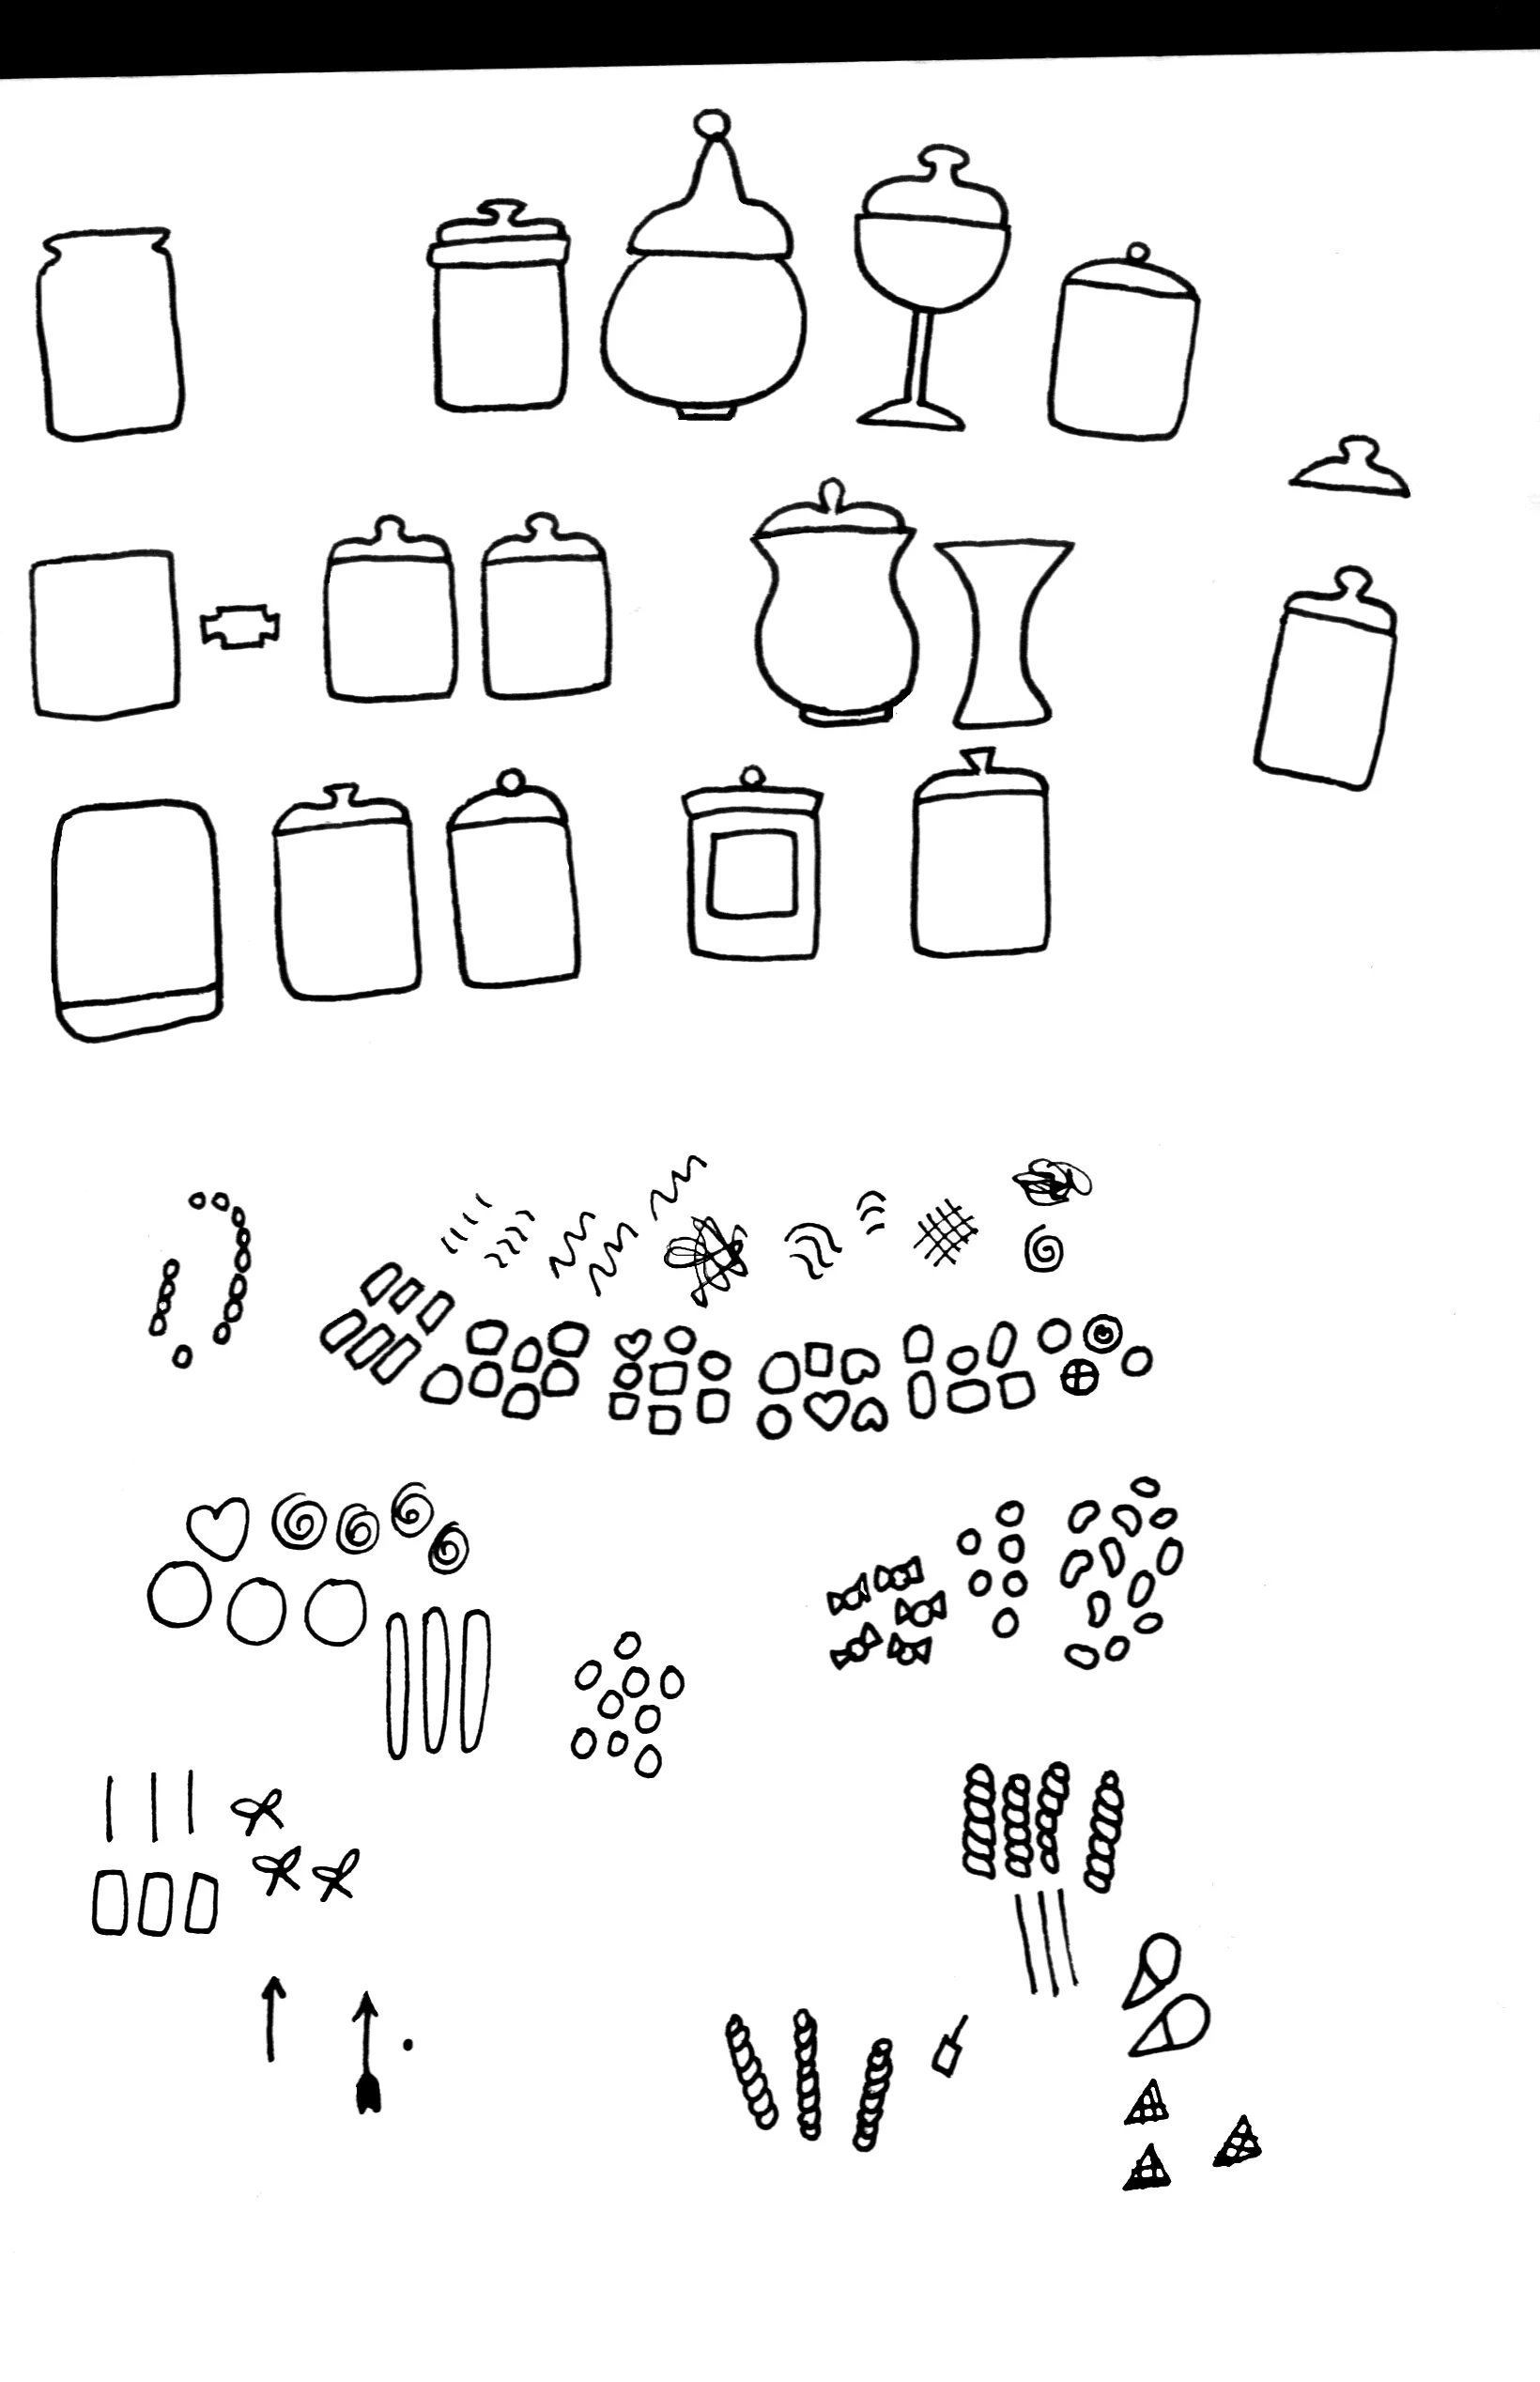
Some ink drawings of the jars and pieces of candy in the background:
Then I assembled it all in Photoshop. I was talking to some artists friends the other day, and we were discussing layers in PSD. I usually have 200 + layers in a file. I organize them into groups. I love groups - if you haven't used them - try it -- I put all the layers of one item, for example, the fox, into one group (select layers and press command G to make a group).

Then you can collapse the group, so you don't have a million layers showing in your layer panel. Also you can merge the group (select group and press command-E). In the image below, the layer, "fox copy" is the merged group copy of "fox" in the folder underneath.
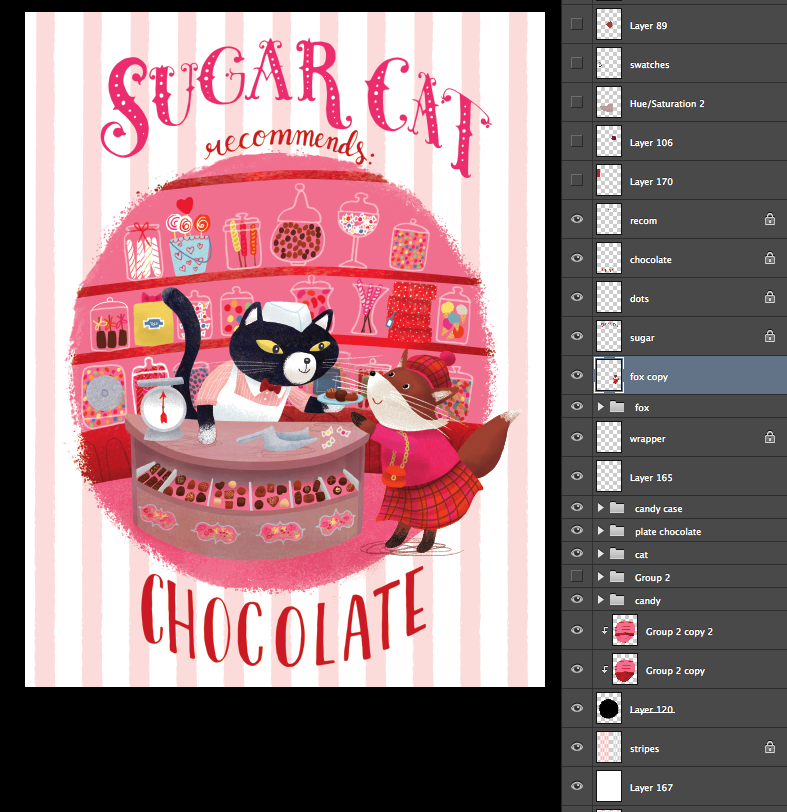
I always keep my original multilayered group though in case I need to change something. But if I send a file to a client, it's easy to merge all the groups into a layer each, so that they can have a smaller file. I discard the multilayered group folders before I send to them, renaming and saving the file. So their file may have only ten layers, as opposed to my 210 layered file! And they will still be able to move different elements if they need to. By organizing everything in the beginning, it makes it easier to prepare the files for the client at the end of the project.
Another tip: I just discovered how to merge layers while naming the layer using the BOTTOM layer! This is huge for me, as I've searched all over the web and couldn't find this! I discovered this by accident. Here it is (drumroll, please!): To merge two layers with the top one being "clipped in" (option-click) (to see an example of a clipped in layer, see image above with Group 2 copy 2 and Group copy clipped into Layer 170) - Select bottom layer only. While holding down command key, simultaneously press E and click on top layer quickly. The layers will merge together and be named the BOTTOM layer. In the past I would merge layers, and they would be named whatever the top layer was, then I'd have to go back in and rename the layer. Note this trick only works with merging clipped in layers.... Not regular layers stacked on top of each other... Anyway, this is a huge time saver for me, so I'd thought I'd share!
Do you have any good Photoshop tips? Please share in the comments below!
Hope everyone has a wonderfully sweet Valentine's Day!
Here's the Sugar Cat again up close and personal (with no text -- can't tell which one I prefer...)!